Rear end: inner fulcrum assembly
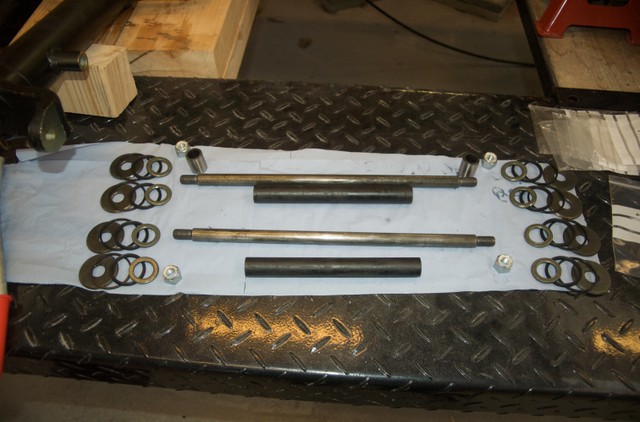
To continue on the front-suspension I'll have to wait till the oil seals have been soaked. So, back to the rear end then. I decided to tackle the mass-washer effort of the lower inner fulcrum. Every one of the four sides to do has a set of 4 rings and some to keep in place. Here's the set, layed out.

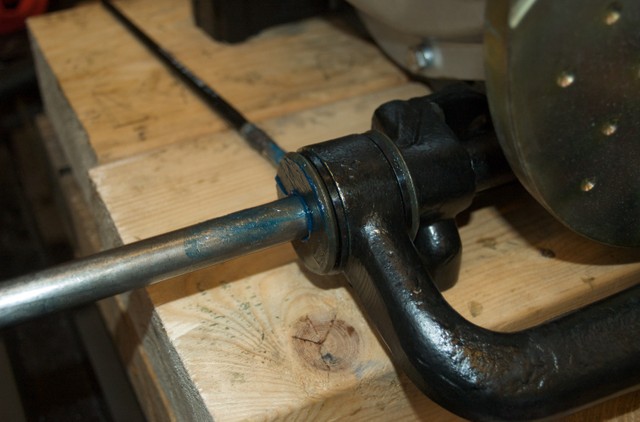
Everything but the nuts at the end also needs greasing. In the end it's just doing things in the proper sequence. Start off with one side, grease everything up which needs to go on there and press the shaft a little bit through.

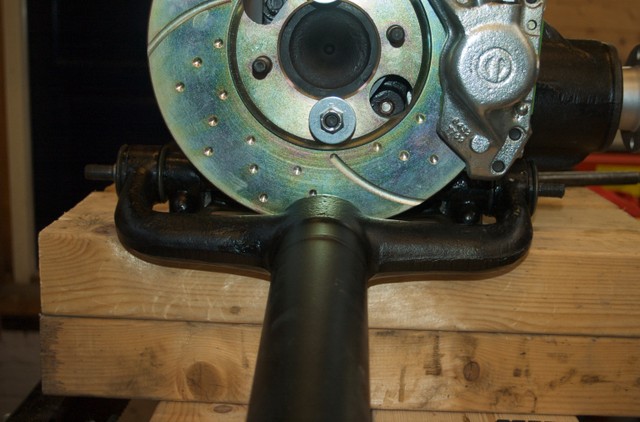
With the help of a dummy shaft, I made sure the fulcrum was aligned properly, so I could gently tap it through the distance tube in the middle. The hardest part is then to position the inner set of 4 rings. Everything is slippery due to the grease and there's not much room. With some patience it's doable though. Repeat on the other side and make sure the shaft has an equal protrusion on either side.

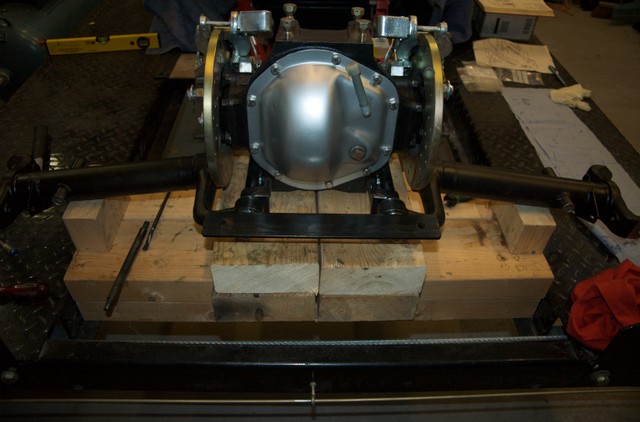
The last step is to put the GD brackets on. I was a bit nervous about this step, the holes in these brackets are drilled very accurately and if they would not fit it could mean that my shimming was incorrect and I would have to do that bit all over again (and go through all the washer hell too). However, the fit was perfect! Yay! Keeping my fingers crossed this translates into the proper toe-in too later on!
