Differential buildup
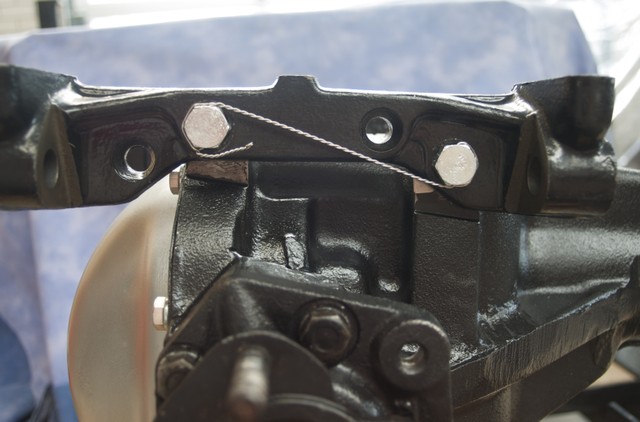
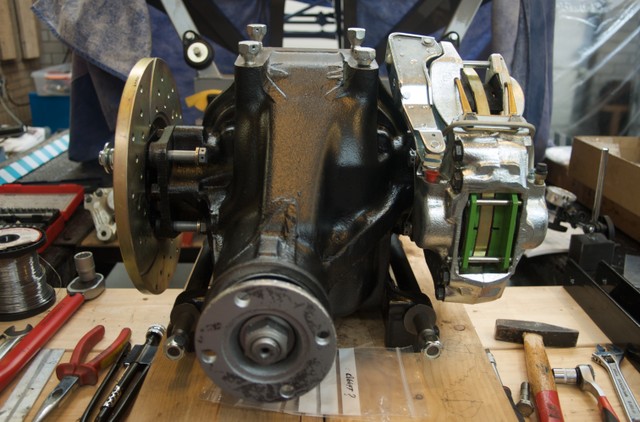
I've given the diff another spray, which makes it finished as a part, so today I positioned the differential on the auto-hoist for build up and (eventually) assembly to the chassis. I already determined the amount of shims needed between the inner bracket and the diff, so bolting them on was a 2 second job. The next hour I more or less practised lock-wiring, trying to get a feel for what works and what does not. The position of the lock-wire holes is kind of critical, so I found it easiest to torque the bolts up to their specified values,see how the bolts end up and then determine where the holes should go.

Using the bench drill and a 1.5 mm cobalt drill, creating the holes is quite easy. Next was turning the differential on its feet and re-determining how many shims were needed to get the brake discs in the centre of the calliper. An easy job, though in the end I came up short one shim, which meant I could only finish one side of the differential build up.

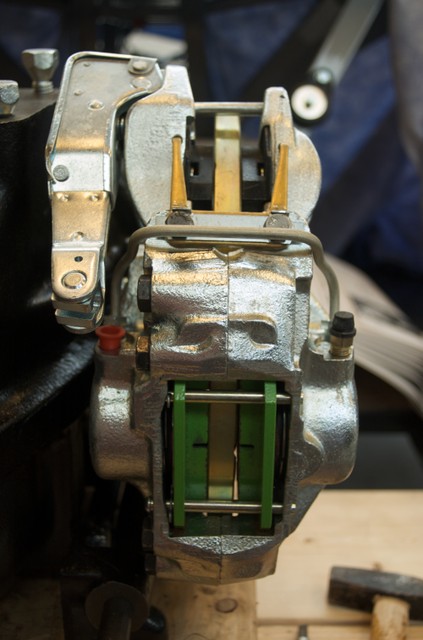
The hardest part of assembling the calliper to the diff is fastening the calliper bolts. They are hard to reach as is, but my torque wrench does not fit either, meaning that fastening them up to their specified value is sort of a guess. I could buy a special piece, but that sounds a bit over the top for just these four bolts. After fastening the two you alse get to lock wire them, which went suprisingly well, considering the location.

So, one side done, once the missing shim arrives, the other side should be pretty quick.