Differential reconditioning part one
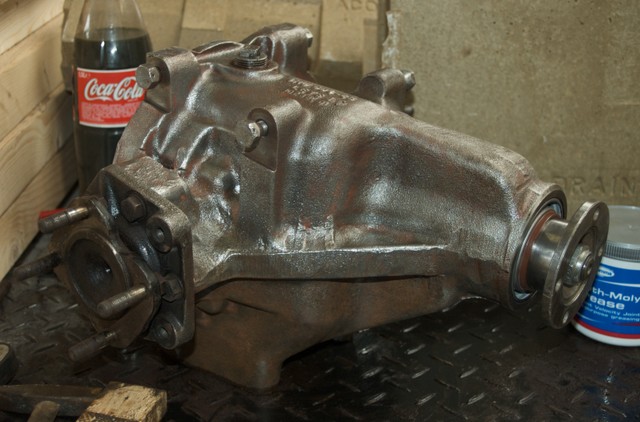
Reconditioning the diff is mostly cleaning, repainting it (not done that yet) and replacing the leaking pinion seal. Replacing the pinion seal is somewhat of a fuzzy defined procedure it seems, and not all the sources of documentation i found agree on it. The main thing is that inside the diff there is a collapsible spacer which gets its final shape on initial installment, 'pre-loaded' as they say.</p>
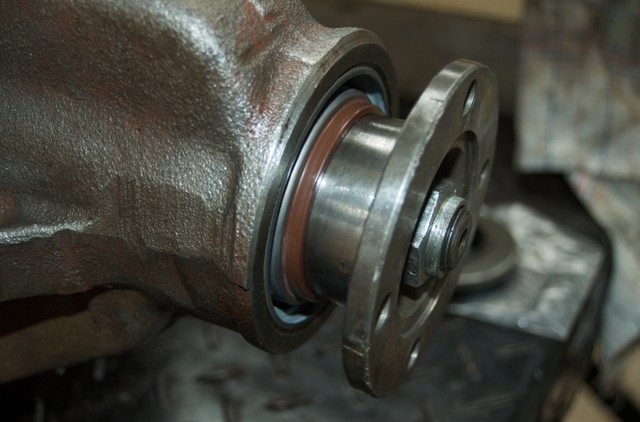
Now, on replacing the seal, you don't want to collapse that spacer any further or you'll need to rework the whole diff, which is definitely something I want to avoid. To be able to replace the seal properly there are a couple of methods documented in manuals and on the internet. Some describe measuring the force needed to turn the pinion through its backlash and aiming to get that back after replacing the seal. Most of them make a note of punching the nut, pinion and flange to be able to return the nut into the exact same position, also by counting the number of threads sticking out the end of the nut.

All these procedures were of little help to me because:
- the seal i have differs from the one coming out; not sure how it affects the procedures, but it seems less 'thick'
- the original nut was erm… completely loose, as in, I could manually undo it from the pinion, so returning it to the exact same position was not possible. I tried fastening the original nut and gave the count of threads a go, fully realizing it was next to useless.

Fitting the seal as such posed no problem apart from getting a confirmation that I put it in the right way. Not wanting to fasten it too tight thinking about the spacer inside, i just fastened it 'by feel' The nut was in a different position than it was originally (about 3/4 of a turn less) and as such had less threads sticking out.
For now, i'm going to leave it as is and continue with the other part of diff reconditioning: repainting it.